主要介绍一个初始博客的搭建和简单next主题的配置和遇到的问题,采用git + github + hexo + hexo next主题实现的一个个人博客网站。
工具准备
下载git,参考网址:图文详解 Git 安装【当前最新,最详细版】 - 掘金 (juejin.cn)
下载node.js,参考网址:node.js安装及环境配置 - 掘金 (juejin.cn)
然后打开git bash命令窗口输入:
1 | npm install -g hexo-cli |
github创建仓库
-
自己注册一个账号,开始创建仓库,可以参考使用 Hexo+GitHub 搭建个人免费博客教程(小白向) - 知乎 (zhihu.com)
需要注意的是仓库名称
xxx.github.io。 -
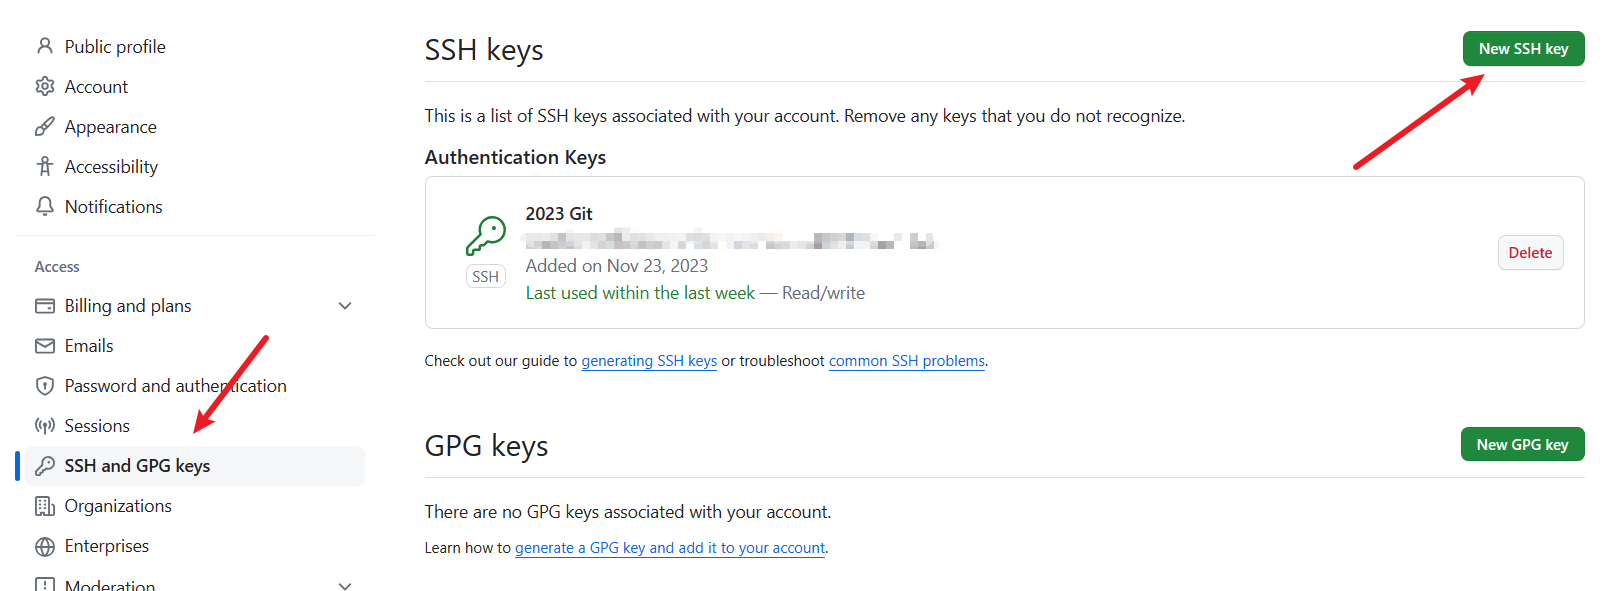
在git上配置远程连接SSH
1
2
3
4
5
git config -global user.name "用户名"
git config -global user.email "邮箱"
生成SSH密钥
ssh-keygen -t rsa -C "邮箱"生成结果:
路径
C:\Users\电脑用户名\.ssh\id_rsa.pub

-
将密钥全部复制粘贴到GitHub上
初始hexo项目
初始创建
1 | hexo init |
下载next主题
1 | git clone git@github.com:theme-next/hexo-theme-next.git ./themes/next |
更改根目录下的_config.yml文件
1 | themes: next |
然后执行以下命令:
1 | 拉取仓库内容 |
1 | 编译运行 本地测试 |
1 | 下载hexo-devloper |
将根目录下.config.yml配置文件修改:
1 | url: # https://xxx.github.io |
配置修改后执行:(一定要先修改配置文件后在进行提交)
1 | 提交 |
执行上述所有步骤后,就可以通过github看到一个初始状态的个人博客了。
Next主题配置
选择主题
主题配置文件下:
1 | # Schemes |
可以自行选择四种样式。
修改博客头像
在themes/next/source/images放入设置的图片。
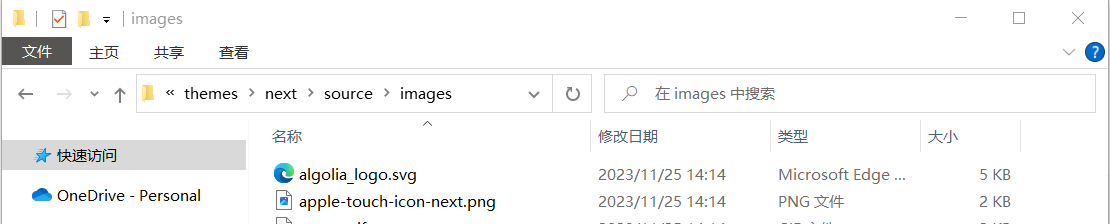
在主题配置文件中设置路径即可:
1 | # Sidebar Avatar |
侧边栏社交添加
主题配置文件夹下配置:
1 | social: |
添加菜单结构
输入命令:
1 | hexo new page tags |
这样就可以创建一个tags目录,效果如图所示:
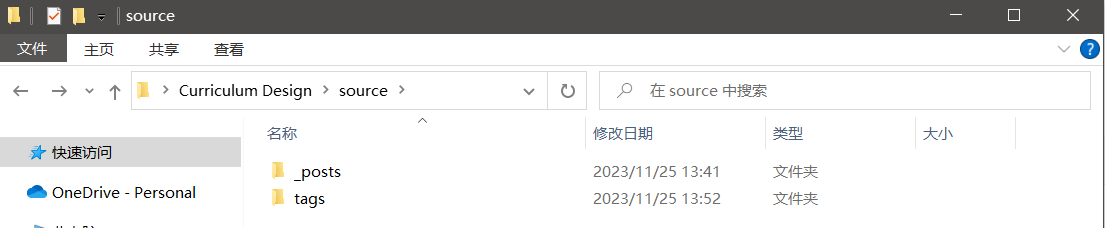
同理还可以创建about、categories、archives等菜单文件。
我们需要进入到每个文件目录下面去修改它index.md文件,修改它的类型,如图所示:

1 | tags: tags |
在主题的配置文件_config.yml开启对应菜单:
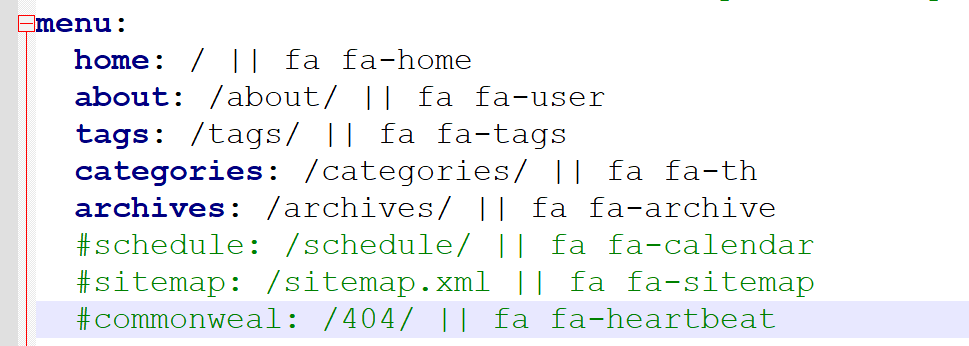
可以设置显示数量:
1 | menu_settings: |
添加搜索功能
下载搜索插件:
1 | npm install hexo-generator-searchdb |
主题目录下配置文件_config.yml开启本地搜索:
1 | local_search: |
根目录下_config.yml配置:
1 | # hexo-generator-searchdb |
添加动态背景
打开生成的hexo目录\themes\next\layout\_layout.swig文件,将代码放在</body>上面。
1 | {% if theme.canvas_nest %} |
主题配置文件添加配置:
1 | # -------------------------------------------------------------- |
增加阅读时间和文章数字统计
下载插件:
1 | npm install hexo-symbols-count-time |
根目录下配置文件添加:
1 | symbols_count_time: |
主题配置文件下打开开关:
1 | symbols_count_time: |
部件配置
都在主题配置文件下
阅读进度条:
1 | reading_progress: |
左上角Github图标:
1 | github_banner: |
开启代码复制:
1 | codeblock: |
文末尾版权说明
1 | creative_commons: |
设置回到顶部
1 | back2top: |
问题
图片不显示
hexo生成后图片路劲发生改变,导致了生成后文章找不到图片。
下载插件:
1 | npm install https://github.com/CodeFalling/hexo-asset-image --save |
修改根目录下配置文件:
1 | post_asset_folder: true |
生成的时候可能要等一会,多刷新几次。
只有md文档同级下有对应文件夹来放图片就可以了。
如果还是不行,直接去修改hexo-asset-image包下的index.js文件:
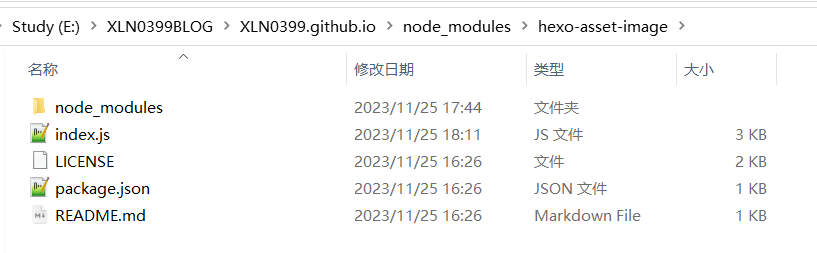
去调整index.js的中路径字符串拼接的部分,视自己当前问题来合理调整。
这里还需要注意的是根目录下的配置文件中url的配置:一定要是自己的仓库名,不然所有组件都会加载失败。
hexo的不支持Latex语法
我们需要进行重新选择插件进行渲染。
需要重新更新插件:
1 | npm uninstall hexo-renderer-marked --save |
修改主题配置文件:
修改插件文件,路径\blog\node_modules\kramed\lib\rules\inline.js:
1 | var inline = { |
然后重新生成运行就可以了。
markdown不支持上标和下标的语法
使用html来实现上下标,不使用~~和^^。